Did you know that Instagram sold a staggering 44 million blue ticks in just one day? The blue verification tick has become a symbol of authenticity and credibility on the platform, making it highly sought after by individuals and businesses alike. In this detailed blog post, we will provide you with a step-by-step guide on how to obtain the blue tick on Instagram. From understanding the eligibility criteria to joining the waiting list and paying the necessary fee, we will cover all the essential points. Let’s dive in!
- Step 1 – Open the Account of a Meta Verified Person:
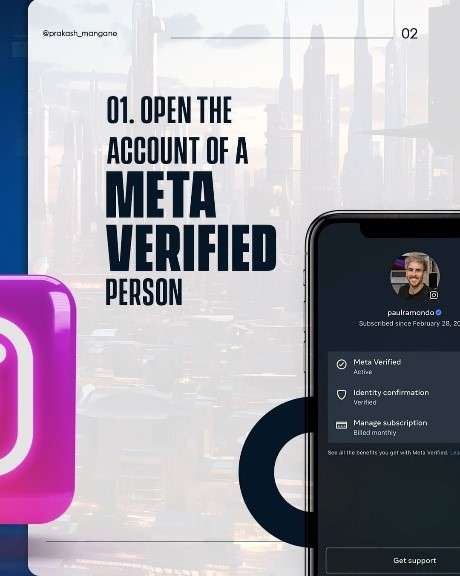
To kickstart the verification process, begin by identifying and opening the Instagram account of a Meta verified person. This account should have the blue tick already, serving as a reference for your own verification journey.
- Step 2 – Tap on the Three Dot Icon on the Right Corner of the Profile:
Once you’re on the Meta verified person’s profile, locate the three-dot icon situated on the top-right corner of their profile page. This icon provides access to additional options and settings for the account.
- Step 3 – Click on the “About This Account” Option on the Pop-up Menu:

Upon clicking the three-dot icon, a pop-up menu will appear. From the available options, select “About This Account.” This option provides detailed information about the account you’re viewing, including its verification status.
- Step 4 – Click on “Join the Waiting List” for Meta Verified:
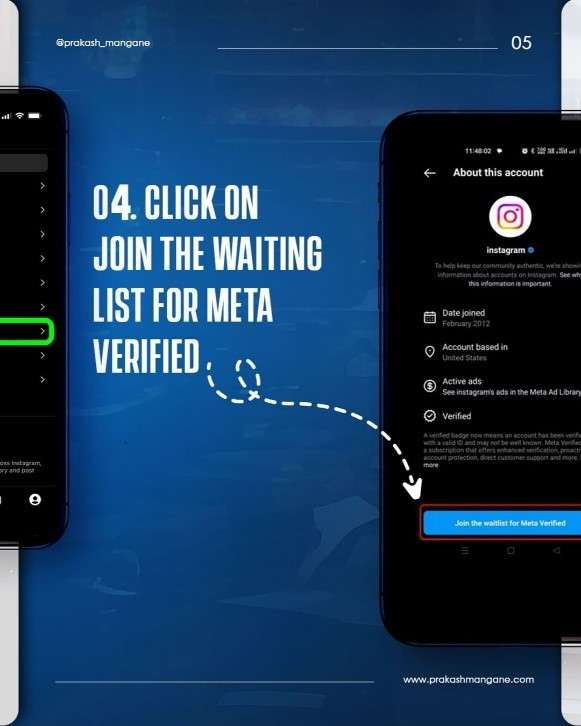
Within the “About This Account” section, you’ll find the option to join the waiting list for Meta verification. By joining the waiting list, you express your interest in obtaining the blue tick for your own account.
- Step 5 – Eligibility Notification from Instagram:
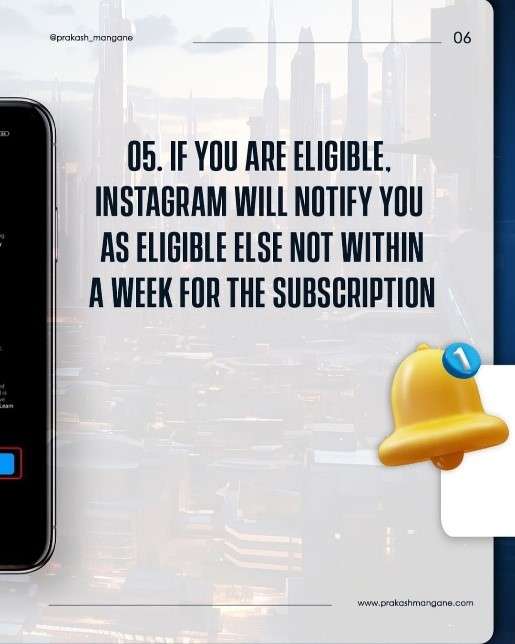
After joining the waiting list, Instagram will review your account to determine if you meet the eligibility criteria for verification. Typically, Instagram notifies users of their eligibility within a week. This waiting period allows Instagram to assess the authenticity and significance of your account.
- Notification of Eligibility:
If your account meets the verification criteria, Instagram will send you a notification stating that you’re eligible for verification. Keep an eye on your Instagram notifications for this important update. Receiving the eligibility notification is an exciting milestone in the verification process.
- Step 6 – Click on the Notification to Subscribe and Pay the Monthly Amount:
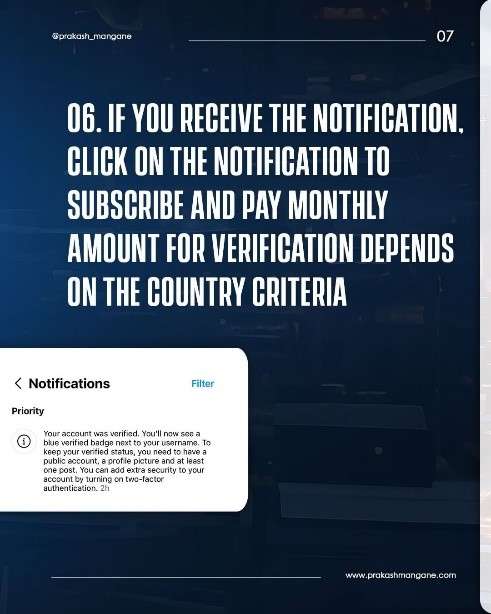
Once you receive the eligibility notification, click on it to proceed with the verification process. To acquire the blue tick, you will need to subscribe and pay a monthly fee. In most cases, the fee is set at Rs. 699 per month, though it may vary based on the country you reside in. This fee covers the ongoing maintenance and evaluation of verified accounts.
Conclusion:
Obtaining the blue verification tick on Instagram can significantly enhance your online presence and credibility. With Instagram’s staggering sales of 44 million blue ticks in a single day, the demand for verification is undeniable. By following the step-by-step process outlined in this blog post, you can increase your chances of obtaining the blue tick and enjoy the benefits it offers.
Stay updated on the latest digital marketing news and strategies by subscribing to our blog and following us on social media. We provide valuable insights and tips to help you succeed in your online endeavors.
(Note: Please ensure to double-check the latest information and guidelines from Instagram, as the verification process and requirements may change over time.)